Relatively recently, a beautiful presentation with slides and music was available to few, and in most cases it was made in specialized centers for a lot of money, but now every user has the opportunity to create an impressive presentation.
With such a wonderful program as Microsoft Power Point, you can quickly and easily create beautiful presentations in Power Point for coursework and diploma projects, work presentations, etc.
There are many programs for creating presentations, but Power Point is the most popular and opens up almost unlimited possibilities for the user. Let's get to know this program in more detail and create a simple presentation to get acquainted with the program's functionality.
How to make a presentation on a computer in Power Point?
Getting started After launching Microsoft Power Point, you will see a standard window with a prepared standard first slide (presentation sheet), create the first slide in the presentation:
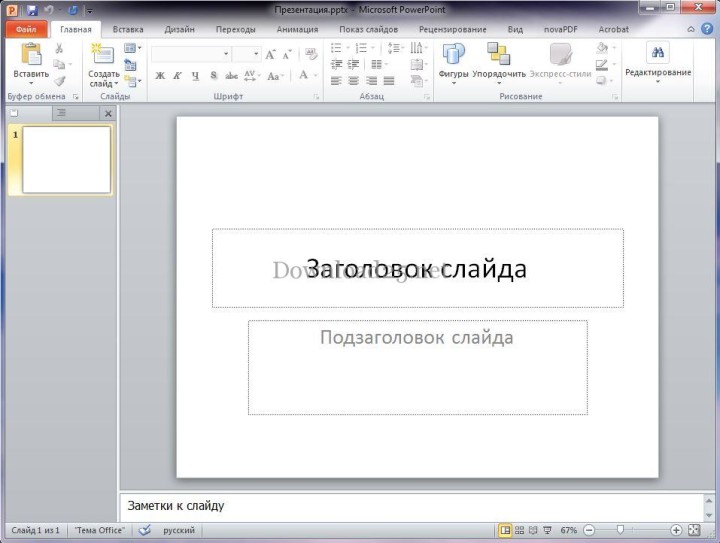
On the left side, the slides that "participate" in the presentation will be displayed in a column. You can add a new slide by clicking the "New Slide" button located in the "Home" tab or by right-clicking under the slide and selecting "New Slide" from the context menu.
Let's choose the design of our presentation. To do this, go to the "Design" tab:
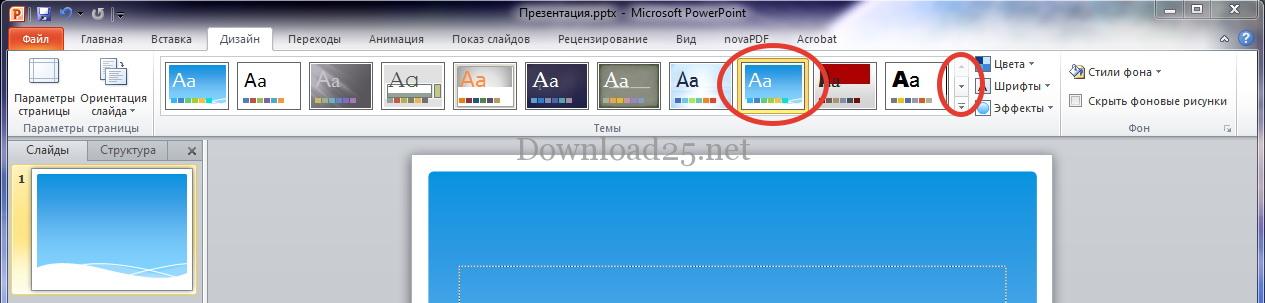
The list of templates in Power Point is large, so it doesn't fit in one line. You can navigate through the templates using the highlighted button. To select a design you like, simply click on it and your slides will take on the chosen design.
Now you can set up the slide layout. To do this, click on the "Layout" item in the Home tab and click on the desired layout:
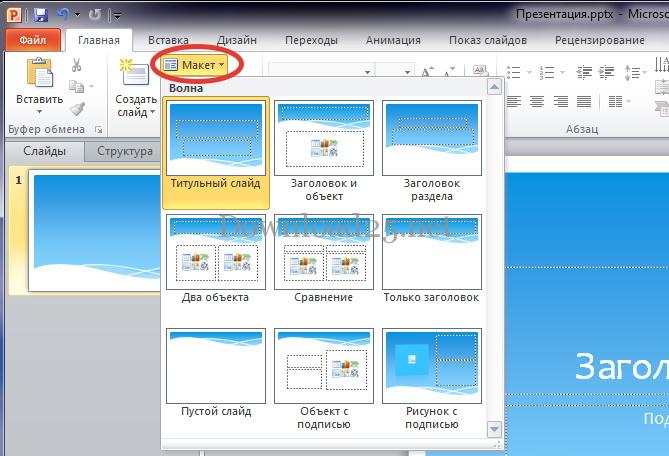
You can choose a custom layout for each slide, depending on the planned content.
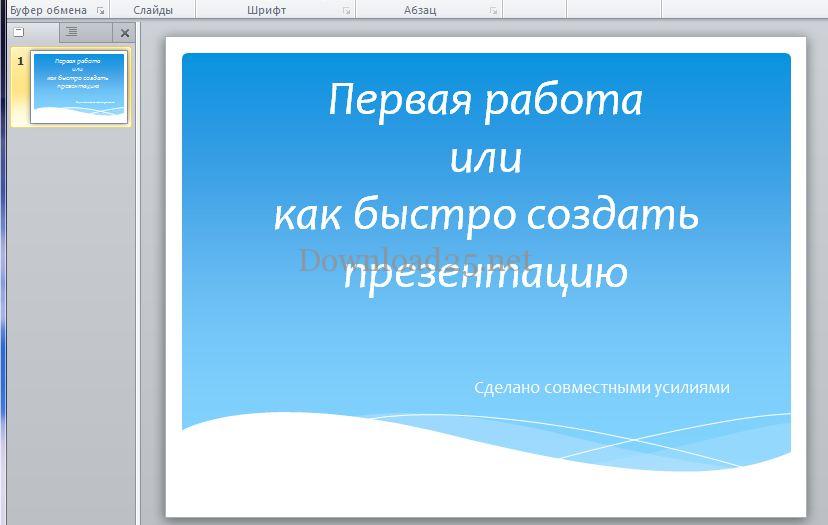
Let's create the title slide of our presentation. To do this, click on the "Title" field and enter the desired text. Entering and editing text in Power Point is the same as in Word.
How to move blocks around a slide in a Power Point presentation?
After entering text in the title field, you can click on the subtitle field of the slide and enter text there. Blocks can be easily moved around the slide by selecting them and holding the cross icon. We get approximately this result (the size, font, and color of the text can be changed at your discretion):
Let's create a second slide in the same way, choosing "Title and Content" as the layout:
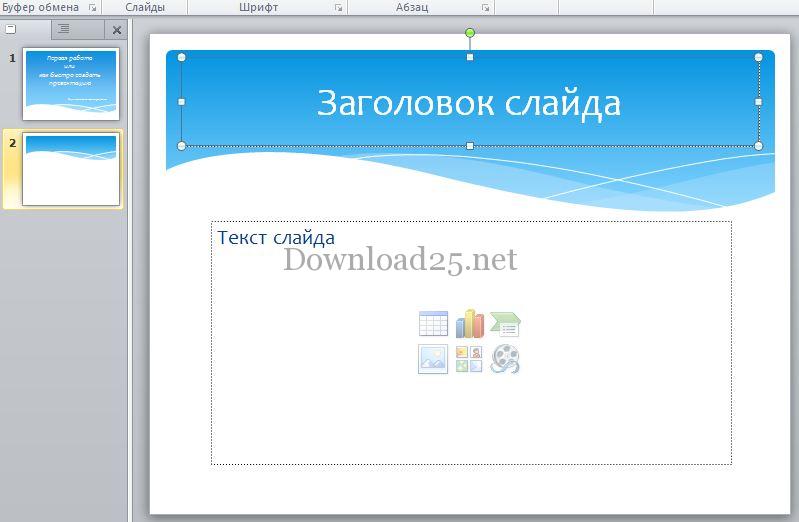
In the second window of the presentation, you can write text and/or add an object by clicking on the desired icon. The object here can be a table, chart, SmartArt graphic, picture from a file, image, or media clip.
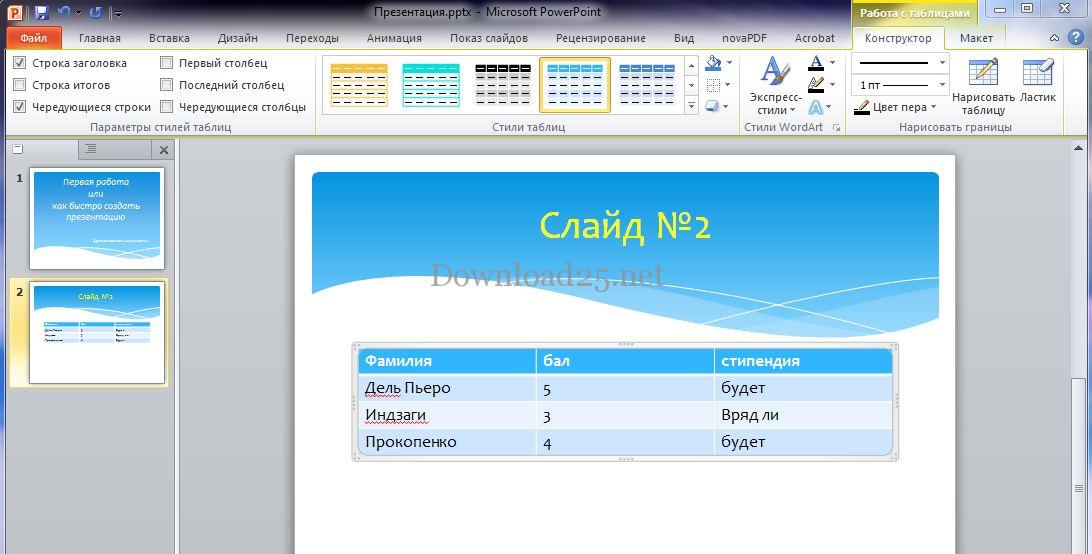
All added objects and blocks can be freely moved around the slide. To add a table, click on the corresponding icon, specify the required number of columns and rows, and click the "OK" button.
How to create a table in a Power Point presentation?
Working in a table is the same as in Word. You can choose the table style, line thickness, and other parameters:
How to create a chart in a Power Point presentation?
Let's add a third slide and place a chart on it in our Power Point presentation. To do this, we perform similar manipulations, but instead of the table icon, we click the chart icon. In the window that opens, select the desired chart type and click the "OK" button:

An Excel document will open where you need to enter what exactly we want to see on the chart. For example, let's consider the performance of the aforementioned characters:
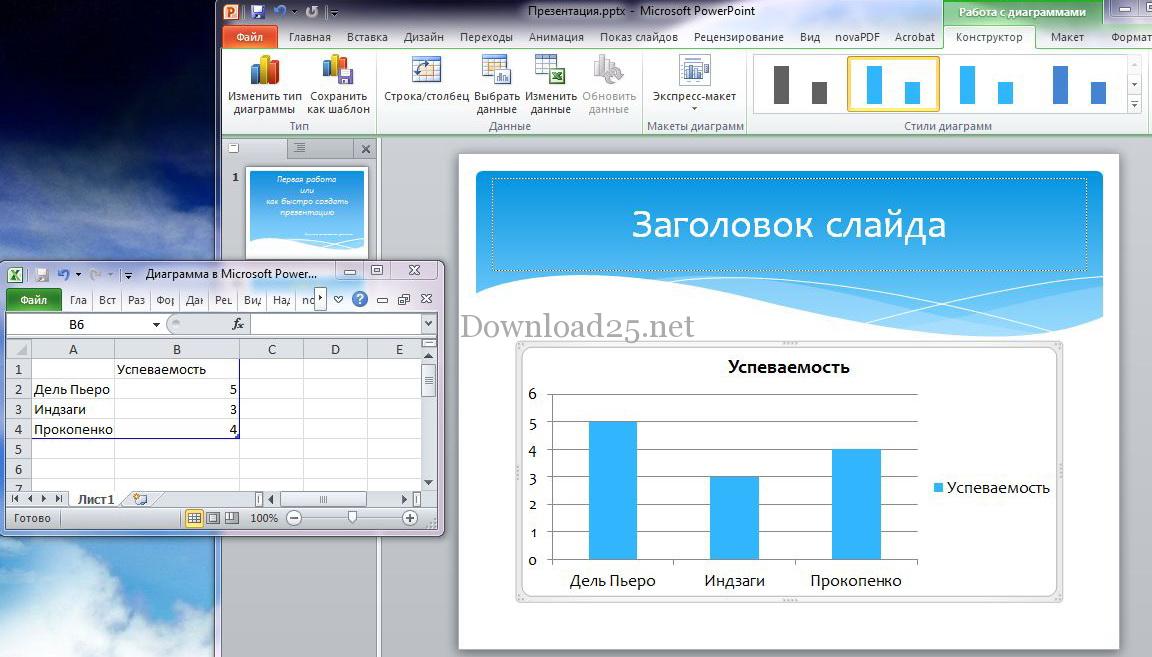
The color and other parameters of the chart can also be changed. You can insert pictures, music compositions, and video clips into slides.
The mechanism for adding is simple and similar to previous additions: you need to add a slide with an object, click on the corresponding icon, and select the desired file to add.
Added pictures in Power Point can be moved around the slide, reduced, and enlarged. You can also insert the necessary objects from the "Insert" tab:

When inserting a video or audio file, you can specify whether to play it on click or start playback automatically when the slide is shown.
Applying effects to slides in a Power Point presentation
The capabilities of the Power Point program do not end there. You can make slides appear beautifully on the screen. To do this, go to the Transitions tab and select the desired slide:
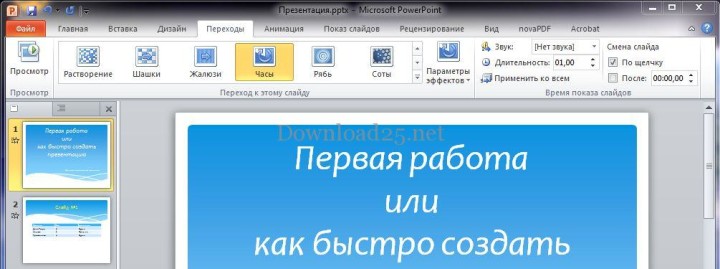
In this tab, you can select the desired effect, and you can immediately preview the effect by clicking on one of the effects. On the right side of the window, you can set the parameters of the selected effect, the sound of appearance, duration, and its appearance – on click or after a time (you set the interval yourself).
Animation on a slide in Power Point
You can also decorate all objects on the slides using animation. To do this, go to the "Animation" tab and select the desired object:
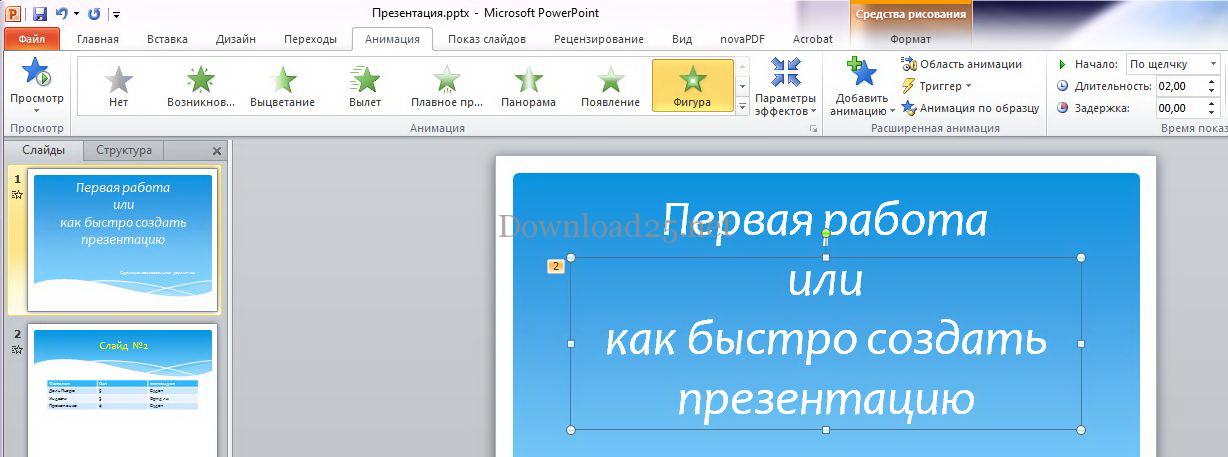
Here you can choose the effect for the object's appearance (in this case, the text "or how to quickly create a presentation"), configure the effect parameters, select the order of object playback on the slide, and specify other settings.
Don't forget to save your work periodically, and you can view the result by pressing the F5 key or going to the "Slide Show" tab and clicking the corresponding button. In the same tab, there is a "Set Up Slide Show" button where you can specify the main parameters for playing the created presentation. You can end the slide show by pressing the Esc key.
That's all, we have covered the main features and mechanisms for creating a beautiful presentation. Using the tools of the Power Point program and applying them freely, you can realize your creative ideas and prepare impressive presentations that will undoubtedly serve you well.